
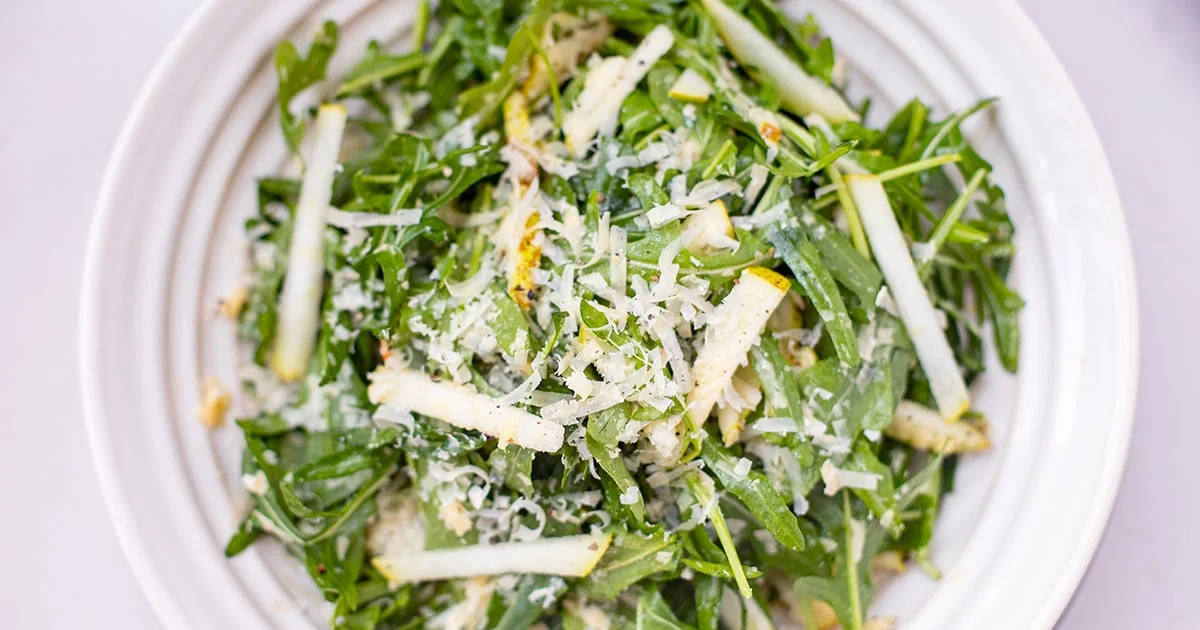
For a super simple, quick and nutritious side dish, I love making this rocket salad with pear, Parmesan and lemon maple dressing. I will share my tips for making the tastiest rocket salad in just 5 minutes!
My Easy Rocket Salad
When it comes to making a rocket salad, you don’t exactly need a precise recipe, nor can I say this is my recipe as it’s a classic Italian dish that can take on many forms. I wanted to share the way I like to make it along with some tips for quick, easy, tasty and crisp rocket leaf salad every time.
It takes 5-10 minutes and goes with a variety of mains from grilled fish or chicken to creamy risotto and Sunday roast.
Rocket vs Arugula
Rocket is also known as arugula, roquette and rucola. They are simply different names for the same leafy green salad. Arugula is used in the North Americas and rocket is what we call it in Australia and the UK (deriving from its Italian name).
Rocket is a nutritious, leafy green salad vegetable and belongs within the Brassicaceae family similar to as mustard greens, cauliflower, and kale. It is more flavoursome than your pain iceberg or even baby spinach with peppery, mustardy, grassy notes.
Rocket is delicious in salads but can also be used to stir into cooked pasta and stews, to add a fresh twist to a pizza, or to make a pesto.
Tips For Making The Best Rocket Salad
- Fresh, crispy rocket – get it when you need it as the rocket doesn’t last long in the fridge and starts to wilt and go soggy after a couple of days. I often buy pre-washed fresh rocket in a bag so it can go straight into the salad bowl. If you do need to wash it, make sure to use something like a salad spinner or paper towels to expel excess liquid as you don’t want any water to dilute the salad dressing or make the leaves soggy.
- Good quality, aged Parmesan – yes, you can use standard, middle-of-the-road Parmesan cheese but for extra sharp flavour and plenty of umami, I try to get aged Parmesan. It goes a long way so you don’t need too much but the difference is noticeable. Cheeses like Pecorino or Manchego can be used instead.
- Dress before you serve – to keep those rocket leaves crisp and fluffy, dress the salad just before you put it on the table.
How To Make Rocket Salad With Pear & Parmesan
This is a really easy salad but here are a few quick step-by-step pics to guide you along the way.
Step 1. If needed, wash and dry the rocket leaves and add them to a big salad bowl.
Step 2. Shave or grate Parmesan cheese over the top, about a cup.
Step 3. Slice half a pear into thin little strips or cubes.
Step 4. Add the dressing ingredients straight over the top just before serving: lemon juice, maple syrup, olive oil, sea salt and pepper. Toss everything together and serve.
More Leafy Green Salad Recipes
Description
This rocket salad with pear, Parmesan and lemon maple dressing is super simple and quick to make and makes for a nutritious side dish. Check out my tips for making the tastiest rocket salad above! This recipe is gluten-free, low-carb, and vegetarian-friendly.
If needed, wash and dry the rocket leaves and add them to a big salad bowl.
Shave or grate Parmesan cheese over the top, about a cup.
Slice half a pear into thin little strips or cubes.
Add the dressing ingredients straight over the top just before serving: lemon juice, maple syrup, olive oil, sea salt and pepper. Toss everything together and serve.
Nutrition
- Serving Size:
- Calories: 170
- Sugar: 6.1 g
- Sodium: 450.5 mg
- Fat: 12 g
- Carbohydrates: 9.2 g
- Fiber: 1.4 g
- Protein: 7.3 g
- Cholesterol: 12.6 mg
Keywords: Arugula Salad, Arugula Recipes, Rocket Salad Recipes, Side Dish, Salad
Very Incredible Basil Sauce Recipe
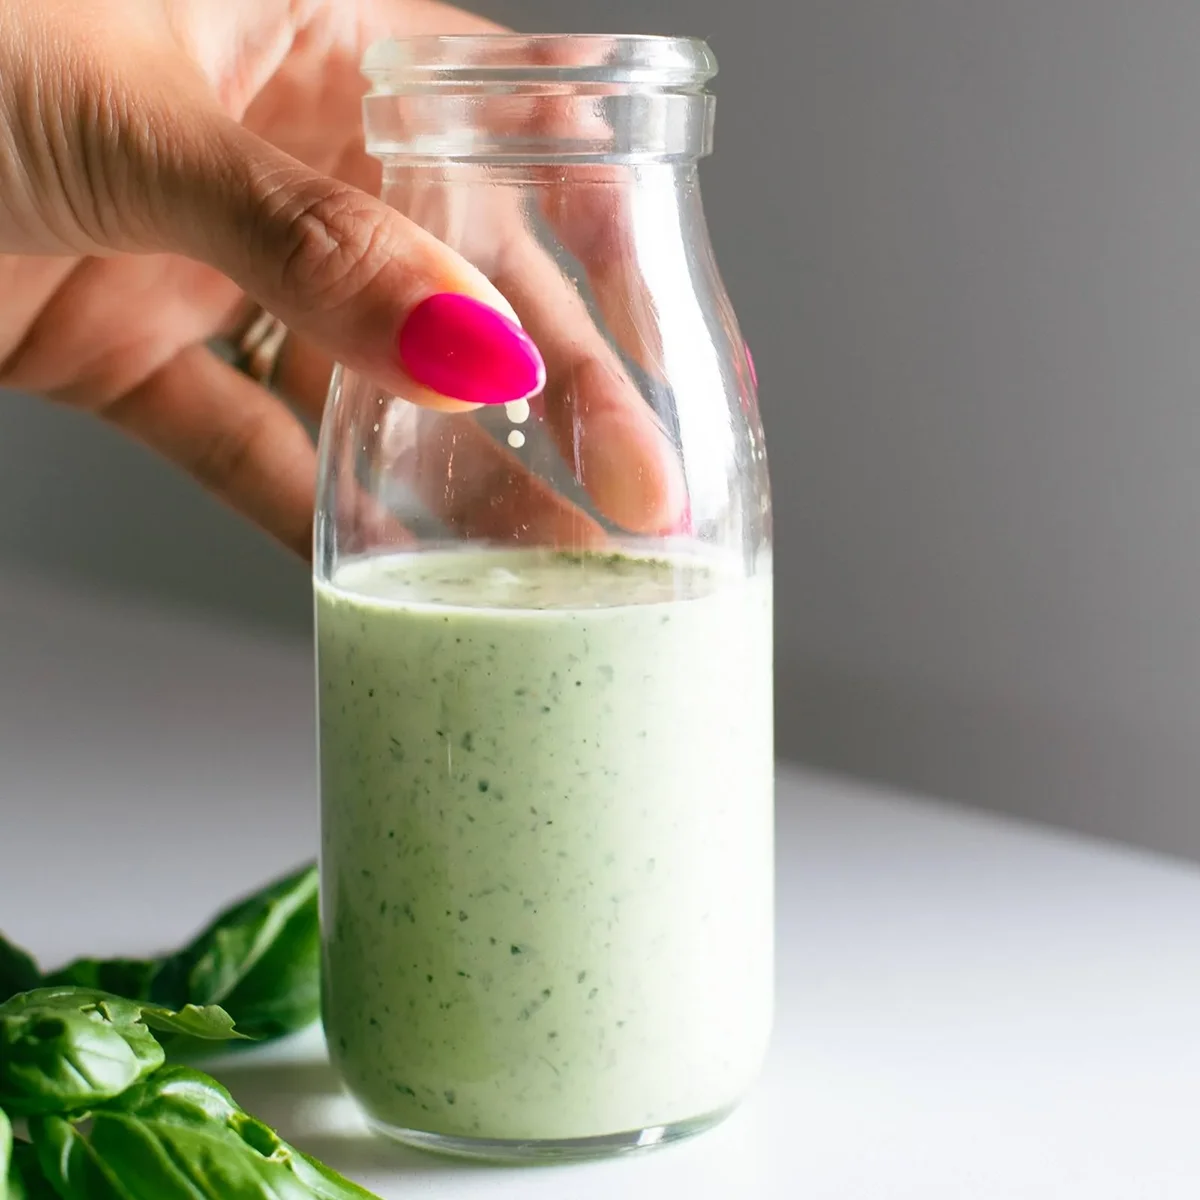
Punchy, salty, bright green sauce packed with fresh basil, chives, garlic, and a bit of oregano. This sauce can be poured out just about anything!
This creamy basil sauce is going on EV-ER-Y-THING in my life: sandwiches, eggs, grilled chicken and veggies, dipped with chips?! It’s so good, packed with green goodness, it’s beautifully summery, and I’m doing the most with it.
In This Post:
The main thing:
Other stuff:
How To Make This Basil Sauce
Step 1: Get All Your Ingredients Ready
You can use a blender, food processor, or a mini-chopper-type gadget. I love this mini-chopper (affiliate link). It’s not meant for sauces necessarily, but I use it all the time because it’s super compact.
Step 2: Blend Your Basil Sauce
That’s it! Just blend, taste, and adjust!
This sauce can be a bit chunky / textured, so keep it going until it has the consistency you want. I prefer something right before completely pureed – where it has just barely noticeable flecks of herbs, but it’s mostly smooth and creamy.
Step 3: Put It On All Your Yummy Things
Like so. (Here’s that recipe.)
Lindsay’s Notes
Ooh baby. Basil, chives, garlic, and a tiny hit of oregano all in a creamy, salty, bright green sauce – I love this so much.
The first time I made this, my toddler (who mostly just eats crackers) found a spatula and just sat at the counter licking the remnants of the sauce out of the blender with me. And I hear that from a lot of people – many kids seem to be very into this for unknown reasons. Sometimes it just hits right, ya know? A+ for that experience.
My favorite thing about this sauce, besides that it tastes like heaven, is that makes healthy-ish eating something I really, actually look forward to.
Baked salmon goes up about 100 notches in my book when smothered in this creamy green sauce. Same goes for shrimp, chicken, and a big fresh salad or lots of roasted veggies.
This will not be the last we see of this sauce, which is why I decided to give it its own post on POY. Welcome home, little basil sauce.
Things You Could Put It On
The possibilities! They are endless.
Description
Punchy, salty, bright green sauce packed with fresh basil, chives, garlic, and a bit of oregano. This sauce can be poured out just about anything!
- Place all your sauce ingredients in a blender or food processor. (I use this mini chopper for the vast majority of my sauces because it’s nice and compact!)
- Blend until you get your desired consistency – I usually go for an almost-completely-smooth texture that is flecked with small bits of herbs.
Notes
Taste and adjust! More lemon juice will wake it up, Parmesan adds more umami and saltiness, and if it gets too salty for you, add a bit more mayo to dilute the pungency a bit!
Keywords: basil sauce, basil dressing
Recipe Card powered byFrequently Asked Questions For Basil Sauce
What can I use instead of mayo?I’ve seen some people on Instagram say they used Greek yogurt and liked it. I haven’t made it this way and I know I wouldn’t like it with Greek yogurt because it’s so tangy and has a different flavor. BUT, if you’re okay with it being a bit different than the original, I think Greek yogurt could work!
I have an egg allergy – what can I use?Vegan mayo has no eggs and tastes great! That’s what I’d use!
How long does the basil sauce last?I usually keep it in the fridge for 3-5 days.
Can you make this vegetarian / vegan?Yes! Use vegan mayo and vegan Parmesan! If you can’t find vegan Parmesan, just throw in a bit of extra salt to compensate for the change in flavor. And if you don’t want to use vegan mayo, try using an avocado like we did in this avocado mojo sauce.
Can you freeze this basil sauce?I would not recommend freezing this.
More Of My Favorite Sauce Recipes
Join the Conversation (0)
Nutrition Facts
Amount per serving
- Calories N/A
- Total Fat N/A
- Saturated Fat N/A
- Cholesterol N/A
- Sodium N/A
- Total Carbohydrates N/A
- Protein N/A
Hi, I'm Alex!
I love sharing easy, healthy, and family-friendly recipes that anyone can make at home.


Be the first to comment on this recipe!